
How to Remove Color Casts in Lightroom Mobile Like a Pro (No Experience Needed!)
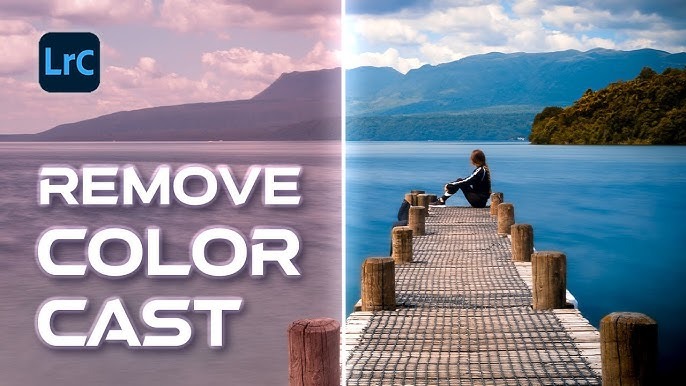
Ever taken a photo that looked almost perfect—until you noticed that weird blue or yellow tint? That’s called a color cast, and it’s a common frustration for mobile photographers.
Color casts sneak in due to lighting conditions. Fluorescent lights, sunsets, and shadows all play a role. These casts change how your colors look, especially on skin tones or white surfaces. Luckily, you don’t need a degree in photography to fix this!
If you’ve been editing with Lightroom Mobile, you’re already halfway there. It’s a powerful tool, even on your phone. I remember shooting an early morning portrait session with golden light. The colors were dreamy—but when I looked closer, my friend’s white shirt had an orange tint. That’s when I learned how important removing color casts really is.
In this guide, I’ll walk you through how to fix color casts in Lightroom Mobile. These tips are beginner-friendly and tested through real editing experience.
If you’re new to mobile editing, be sure to explore Goo Photo for trusted tools and guides to enhance your mobile photography skills.
What Causes Color Casts in Photos?
Color casts usually come from one source: light imbalance. The camera tries to adjust automatically, but it doesn’t always get it right.
Common Reasons Include:
- Artificial lighting: Fluorescent or tungsten bulbs often cause green or yellow casts.
- Sunsets or sunrises: These can make photos overly warm or red-toned.
- Shadows or reflections: Blues and purples are common from shadows or colored surfaces nearby.
Sometimes, a camera’s white balance settings can also misread the scene. This results in colors that don’t match reality.
According to a study by ScienceDirect, image quality perception is strongly affected by color accuracy. Even slight color issues can reduce a photo’s visual impact by up to 30%.
Now, here’s where Lightroom Mobile shines. Its white balance and color tools are intuitive—even for beginners. You don’t need a full desktop setup anymore.
So, if you’re editing mobile shots—especially with free presets lightroom from trusted sources—knowing how to adjust casts will help maintain color consistency.
Step-by-Step Guide to Removing Color Casts in Lightroom Mobile
Lightroom Mobile makes color correction straightforward. You just need to know what tools to use.
Step 1: Use the White Balance Selector (Eyedropper Tool)
This is the fastest way to get a natural tone.
- Open your image in Lightroom Mobile.
- Scroll to “Color” and tap “White Balance”.
- Select the eyedropper icon.
- Tap on a neutral gray or white area in your photo.
Lightroom adjusts all colors based on that spot.
👉 Pro tip: If there’s no pure white area, use light gray instead. This avoids overcorrection.
Step 2: Manually Adjust Temp & Tint
If the eyedropper doesn’t nail it, use sliders:
- Temp: Adjusts warm (yellow) to cool (blue) tones.
- Tint: Fixes green to magenta shifts.
Start small. Slide until the whites look neutral again. It often only takes a few adjustments.
Step 3: Check and Tweak Using Color Mixer
Scroll further under the Color panel and tap on “Mix.”
- Here, you can adjust individual color ranges (reds, greens, blues, etc.).
- Shift hues to balance out any over-tinted areas.
For example, too much blue in shadows? Tap “Blue” and reduce saturation slightly.
Fixing Color Casts with Presets: Do They Work?
Presets are like filters—but smarter. They save settings like color correction, exposure, and more. But not all presets are created equal.
Some free presets Lightroom packs include built-in white balance fixes. This can be helpful, but they’re not perfect for every photo. Lighting varies too much from scene to scene.
When Presets Help:
- If you’re editing a batch of photos from the same lighting setup.
- When you’re short on time and need a quick fix.
When to Be Cautious:
- If your original photo has complex lighting.
- If skin tones look unnatural after applying.
Always adjust white balance after applying presets. Think of presets as a base layer—not the final step.
According to PhotographyLife, “automated corrections often need manual fine-tuning to ensure skin tones and whites look accurate.”
Additional Tools in Lightroom Mobile for Better Color Correction
Sometimes, removing a cast isn’t enough. You may need to polish the rest of the image for true-to-life results.
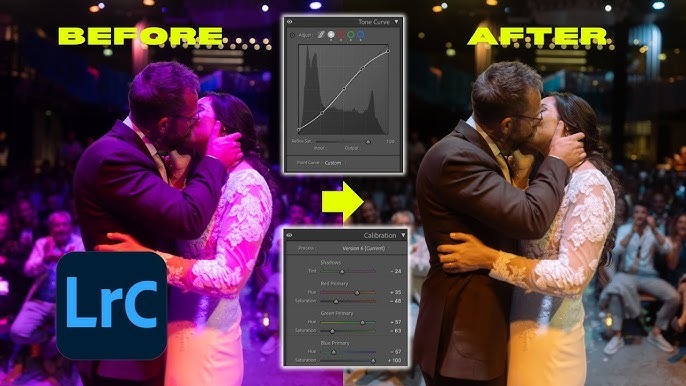
1. Curves Panel
- Great for adjusting highlights, shadows, and midtones by color channel (RGB).
- Tweak the Blue or Green curve to cancel unwanted hues.
2. Selective Editing
- Tap on “Selective” and use the brush or radial filter.
- Target specific areas that have color issues without affecting the whole photo.
For example, a subject’s skin looks fine, but the background is greenish—select and adjust just the background.
3. Color Grading
- Use the Midtones, Shadows, and Highlights wheels.
- Add subtle color shifts to balance the overall mood after correcting the cast.
Learning the Hard Way (So You Don’t Have To)
I used to over-edit my mobile photos. Every time I saw a yellow shirt or a warm light, I’d blast the blue temperature slider. But that didn’t fix the problem—it made faces look pale and shadows unnatural.
What changed? I started editing smarter, not harder. I learned to use the eyedropper first. Then, I fine-tuned small adjustments in the mix panel. My edits got faster. My colors looked cleaner. Friends even asked what filter I used—except I didn’t use one.
That’s the power of understanding color correction, especially with Lightroom Mobile. Once you’ve practiced a few times, it becomes second nature.
Final Tips to Avoid Color Casts in the First Place
While Lightroom can fix almost anything, it’s best to shoot with color accuracy in mind. Here’s how:
- Shoot in RAW (DNG format): This gives you more flexibility during editing.
- Use natural light when possible.
- Avoid mixed lighting sources (like combining fluorescent and natural light).
- Use neutral-colored backdrops for portraits.
Lightroom will still be your safety net—but why fall if you can walk steady?
Read More Also: Beat the Buffer: Proven Solutions for WiFi Dead Spots at Home
Conclusion
Color casts can ruin a great shot—but they’re also easy to fix with the right steps. Lightroom Mobile gives you powerful tools without needing a computer. From white balance to color mix tweaks, each adjustment brings your photo back to life.
Remember:
- Use the white balance tool first.
- Adjust temperature and tint carefully.
- Tweak with the color mixer if needed.
- Avoid over-editing.
Whether you’re shooting for Instagram or just keeping memories clean, removing color casts is a key skill every mobile photographer should master.
If this guide helped you, share it with your fellow photo friends or leave a comment with your biggest editing struggle—we’d love to help you solve it.
Read More Also: Stop Streaky Candles: Proven Tips to Avoid Candle Dye Streaking for Smooth Results Every Time
FAQs
What is a color cast in a photo?
A color cast is a noticeable tint that affects the entire image. It usually comes from lighting.
Can I remove a color cast using only Lightroom Mobile?
Yes. Use the white balance tool, temperature/tint sliders, and color mix to fix most casts.
Is the eyedropper tool in Lightroom Mobile accurate?
Mostly yes, but results depend on where you tap. Choose a neutral area like white or gray.
Should I apply presets before or after color correction?
Apply presets first, then correct any color issues manually for best results.
Do all photos need color correction?
Not all. But if colors look off or unnatural, some minor adjustments can improve them a lot.