How to Calibrate a Bubble Level at Home Without Special Tools
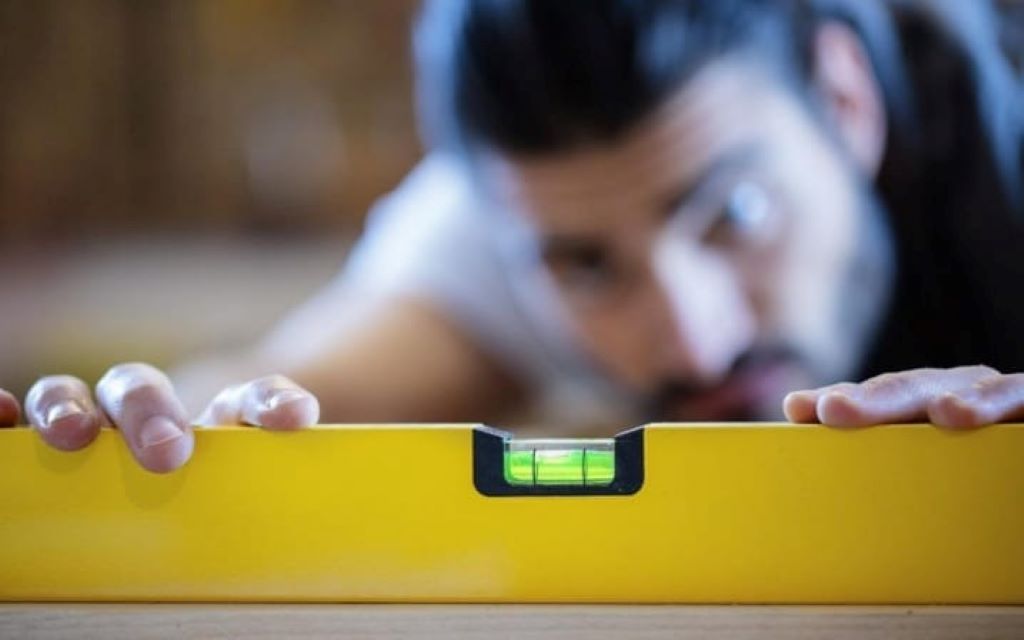
Bubble levels are indispensable for anyone who works with construction, woodworking, or even simple DIY projects. Their accuracy can make or break the quality of your work. Yet, what happens if your trusty tool is no longer accurate? Knowing how to calibrate a bubble level at home without special tools is a skill every DIY enthusiast or professional should have. This guide will walk you through easy, step-by-step methods to restore your bubble level’s accuracy, ensuring you achieve perfectly level surfaces every time.
If you’re new to the world of tools or want high-quality equipment, explore Best USA Tools for a range of reliable products. Now, let’s dive into the practical solutions!
What is a Bubble Level, and Why Does Accuracy Matter?
A bubble level, also known as a spirit level, is a tool designed to indicate whether a surface is level or plumb. It relies on a sealed tube filled with liquid and a small bubble of air. This bubble aligns between markers to show level alignment.
But why does accuracy matter? Consider a builder creating a foundation for a house or a homeowner hanging a new shelf. If the bubble level isn’t properly calibrated, even a tiny error can result in crooked walls, uneven surfaces, or costly mistakes. Professionals and hobbyists alike agree: precision is non-negotiable.
Signs Your Bubble Level Needs Calibration
Before you dive into the calibration process, it’s essential to determine whether your tool is off-kilter. Look for these common signs:
- Inconsistent Readings: Place the level on a flat surface, note the bubble position, then rotate the level 180 degrees. If the bubble shifts significantly, calibration is needed.
- Visible Damage: Cracks or uneven wear on the level’s surface could disrupt the accuracy.
- Inaccurate Measurements in Projects: If your results don’t match your expectations, a faulty bubble level might be the culprit.
Materials You’ll Need to Calibrate a Bubble Level at Home
The beauty of calibrating a bubble level at home is that it requires no special tools. Here’s what you’ll need:
- A flat, stable surface (like a countertop or sturdy table).
- A pencil or marker to note positions.
- Patience and a keen eye for detail.
If you’re missing a quality bubble level, check out https://bestusatools.com/construction-tools/levels/bubble-levels-demystified/ for highly recommended models.
Step-by-Step Guide: How to Calibrate a Bubble Level at Home Without Special Tools
Step 1: Find a Perfectly Flat Surface
The foundation of any calibration process is a flat, stable surface. Kitchen counters or smooth wooden tables work great. Test this by using an existing bubble level that’s already been confirmed as accurate.
Step 2: Mark the Starting Position
Place the bubble level on the surface and note the bubble’s position relative to the vial’s center markers. Use a pencil or tape to mark where the level sits.
Step 3: Rotate the Level 180 Degrees
Carefully flip the bubble level around so that the side facing you is now away. Note the bubble’s position again. If it aligns differently compared to Step 2, your level needs calibration.
Step 4: Adjust the Vial if Possible
Many modern bubble levels allow you to adjust the vial. Use a small screwdriver or similar tool to tweak its position slightly until the bubble aligns properly in both orientations. If your model doesn’t have adjustable vials, you may need to replace it entirely.
Why DIY Calibration Works Without Special Tools
Calibrating a bubble level at home works because the principles are straightforward: finding symmetry and consistency. By using a flat surface and testing both orientations, you eliminate external errors. This method works especially well for DIY enthusiasts and professionals who want to save time and money.
Expert Tips for Maintaining Bubble Level Accuracy
- Store Properly: Avoid leaving your bubble level in extreme temperatures, which can warp the liquid or vial over time.
- Clean Regularly: Dust and debris can affect how the tool sits on surfaces. Use a soft cloth to wipe it down frequently.
- Check Calibration Periodically: Even with proper care, regular use can gradually impact accuracy. Test your level monthly to stay on track.
What If Your Bubble Level Can’t Be Calibrated?
Sometimes, calibration isn’t enough. If the vial is cracked, the liquid has leaked, or the tool is severely worn, it’s time for an upgrade. Thankfully, you don’t have to break the bank for quality tools.
How to Use a Bubble Level for Perfect Results
Using a bubble level effectively isn’t just about calibration—it’s about technique. Place the level firmly on the surface, ensuring it doesn’t wobble. Look directly at the bubble, rather than from an angle, to avoid parallax errors. Finally, always double-check your work by measuring twice!
You Might Enjoy: An Introductory Guide to Caravan heating systems
FAQs
What is the main cause of an inaccurate bubble level?
The most common causes include physical damage, worn surfaces, or vials shifting out of place due to frequent use.
Can I calibrate all types of bubble levels at home?
Most manual bubble levels can be calibrated, but digital or advanced models may require professional servicing.
How often should I check the accuracy of my bubble level?
Checking it once a month or before significant projects is a good rule of thumb to ensure reliable results.
Why is it important to use a flat surface during calibration?
A flat surface ensures there’s no external influence on the bubble, allowing you to pinpoint inaccuracies in the tool itself.
What liquid is inside the vial of a bubble level?
The vial is typically filled with alcohol or a similar liquid, chosen for its low freezing point and visibility.
Conclusion
Learning how to calibrate a bubble level at home without special tools is a skill that empowers you to work smarter, not harder. This simple yet effective process ensures you can trust your tools, avoid costly mistakes, and tackle projects with confidence.
When in doubt, remember the basics: find a flat surface, mark positions carefully, and test consistency. With these techniques, your bubble level will stay accurate for years to come.

