What Do Pros Check on a Workpiece Before Making the First Cut?
Watch a seasoned fabricator walk up to a piece of aluminum stock, and you will notice something: they do not measure immediately. They look first. They check for flaws, flatness, and orientation before a single mark goes down. It is the same instinct that makes them glance at the small black marks on their tape. If you have ever wondered what are the black diamonds on a tape measure are actually for, that curiosity is a good sign — you are starting to think like someone who plans the cut instead of reacting to it. Here is what experienced tradespeople check on a workpiece, and why skipping those checks is one of the most expensive habits in a shop.
Quick Answer
Before the first cut, pros check five things: the workpiece’s true condition (flaws, cracks, warping), its flatness and squareness, the correct reference edge for measurement, the available material allowance for cleanup or finishing, and whether the setup itself is rigid and safe. They also verify the cutting method suits the material’s hardness and thickness. Overlooking any of these can produce a cut that fits numerically but fails structurally or visually.
Key Takeaways
- Inspect the workpiece for defects before measuring, because a hidden crack or warp can ruin an otherwise perfect layout.
- Establish a reference edge first; every measurement should be taken from the same reliable surface to avoid compounding error.
- Confirm you have enough stock allowance for cleanup, squaring, or finishing after the cut.
- Match the cutting tool and blade to the material’s thickness and hardness, not just to convenience.
- Verify the setup is secure and supported — a good plan cannot compensate for a workpiece that shifts mid-cut.
Why Inspection Comes Before Measurement
Most beginners measure first. Pros inspect first, because a measurement only means something if the material itself is sound and predictably shaped. A tape measure can tell you a board is 36 inches long, but it cannot tell you that the last six inches are cracked, cupped, or contaminated with a hard inclusion that will destroy a blade.
Inspecting first also changes how you plan the cut. If you find a knot or a soft spot near one end, you can position your part so the flaw lands in a waste area rather than in a finished surface. Doing that inspection after you have already marked everything usually means starting over.
What to look for on wood
Check for knots, checks, splits, and any sign of previous water damage. Run a hand along the surface — a raised grain or a slight bow is easier to feel than to see under shop lighting. Look at the end grain for cracks that travel inward; these often open up further once the board is cut.
What to look for on metal
Look for rust pitting, mill scale, burrs on the edges, and any sign the stock has been bent or dropped. On aluminum especially, a superficial scratch usually does not matter, but a deep gouge or a hard spot from a previous weld can deflect a saw blade and ruin both the cut and the blade. For thicker or harder stock, the angle you approach the cut with matters almost as much as the stock itself, which is worth keeping in mind when planning aluminum work.
Flatness, Squareness, and the Reference Edge
Every accurate layout depends on a reliable reference surface. If the edge you are measuring from is not straight or square, every downstream measurement inherits that error — and the mistake grows as the part gets larger.
Pros typically pick one edge as the reference and use it consistently. On a jointer-prepared board, that is the flattened face or jointed edge. On metal stock, it is often the factory edge or a machined face. Everything else gets measured from that one surface.
Checking flatness quickly
You do not need a granite surface plate to check a small workpiece. Lay it on a known flat surface and press gently at the corners. A rocking motion or a visible gap under a straightedge tells you the material is warped. For a workshop job, this quick check is usually enough to decide whether to work around the warp or reject the piece.
Checking squareness
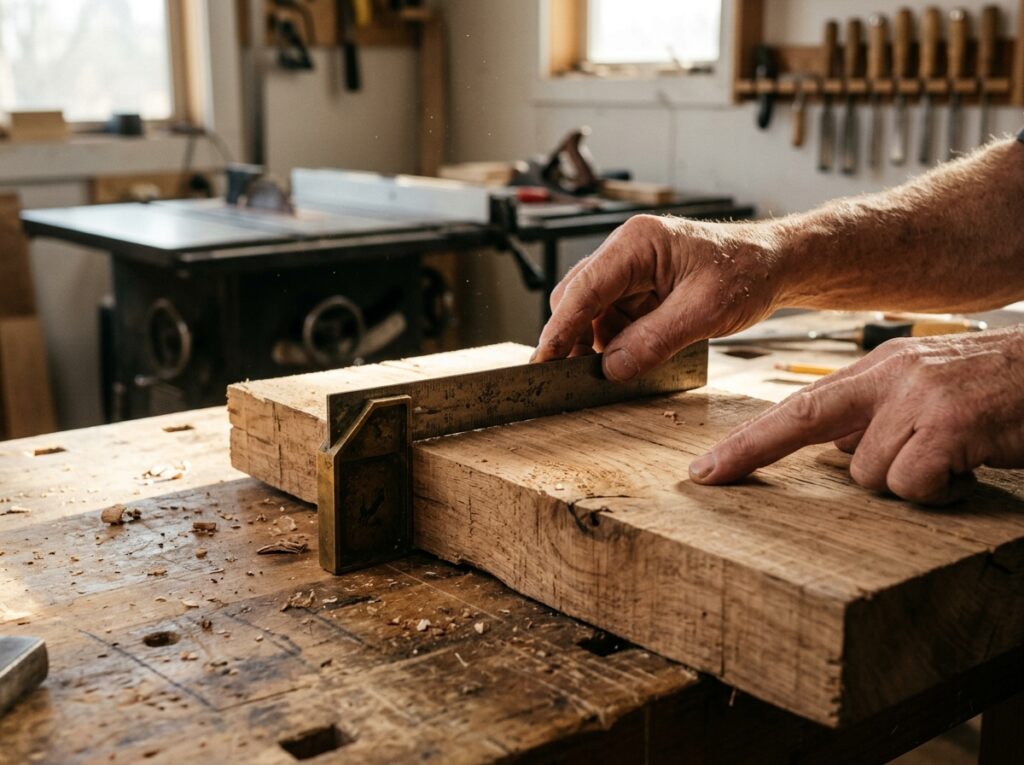
Use a square against your chosen reference edge. If light shows unevenly between the blade of the square and the material, the edge is not square. On lumber, this might mean re-cutting the end. On metal, it might mean choosing a different reference face entirely.
Material Allowance and Cleanup Stock
This is the check most beginners forget. Your finished part needs to be a certain size, but the rough cut needs to be slightly larger so you have room to clean it up.
The allowance depends on the process:
- Hand sawing metal: leave enough material to file or grind the cut face flat and square.
- Milling or turning: leave enough for a finishing pass that removes the rough-cut marks.
- Woodworking: leave enough to joint, plane, or sand the cut edge without going undersize.
If you cut to final dimension on the first pass, you have no margin for error. A slightly short part is scrap; a slightly long part is just work.
Matching the Cut to the Material
Before starting, pros confirm the blade, bit, or wheel is appropriate for what they are cutting. A blade that is fine for soft wood may burn or wander in hardwood. A blade suited to steel may load up and overheat in aluminum.
| Material | Typical consideration | Common mistake |
|---|---|---|
| Softwood | General-purpose tooth count works well | Forcing the saw and tearing the end grain |
| Hardwood | More teeth, slower feed rate | Using a coarse blade and getting splintered edges |
| Aluminum | Coarser tooth pattern, controlled feed | Using a fine-tooth blade that clogs and overheats |
| Steel | Blade matched to hardness; cutting fluid | Cutting dry and burning the blade |
The point is not to memorize a chart — it is to check before you cut rather than after you have ruined a blade or a part.
Setup, Support, and Safety Checks
A perfectly planned cut still fails if the workpiece moves. Pros check that the material is supported along its length, clamped close to the cut line, and not pinching the blade as the cut closes. On long stock, unsupported overhang can sag and cause a bind. On thin material, insufficient support can cause chatter and a ragged edge.
Safety checks belong in the same step. Confirm the blade guard moves freely, the material is not going to kick back, and your hands are clear of the cut path. These are not separate from accuracy — a workpiece that shifts is both a safety hazard and an accuracy problem.
Frequently Asked Questions
Do I really need to check the workpiece if I am only making a rough cut?
Yes, but the checks can be lighter. Even a rough cut needs a sound reference edge and a stable setup. Rough cuts still fail if the material is cracked or the stock moves mid-cut.
What is the most commonly skipped check?
Material allowance. Many beginners cut straight to the final dimension, which leaves no room to clean up the cut face or correct a small error.
How do I pick a reference edge on irregular stock?
Choose the straightest, flattest surface available. On lumber, that is often a jointed edge. On metal, it may be a factory edge or a machined face. Use the same reference for every measurement.
Should I check the workpiece before or after marking it?
Before marking. Inspection may reveal a flaw that changes where you place your layout lines, and it is easier to reposition marks than to redo a cut.
Does the cutting angle matter for accuracy?
It can. The angle at which the blade contacts the material affects blade wander, heat, and finish quality, especially on harder or thicker stock. Choosing the right approach reduces cleanup and improves the cut face.
What is the fastest way to check flatness without special tools?
Set the workpiece on a known flat surface and press the corners. A rock or a visible gap indicates warp. For most workshop decisions, this is enough to tell you whether the piece is usable as-is.
Conclusion
Pros check the workpiece before the first cut because accuracy starts with the material, not the measurement. Inspect for defects, establish a reliable reference edge, confirm you have cleanup allowance, match the tool to the material, and verify the setup is stable. Do those five things, and your cuts land where you planned them. Skip them, and no amount of careful measuring will save the part. Build the habit on every job, even the simple ones.