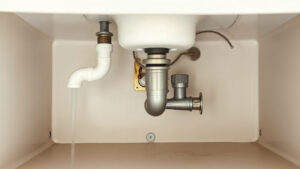
Leak Under Sink
A practical guide to finding, fixing, and preventing a leak under sink, from supply lines and P-traps to cabinet damage and when to call a plumber.
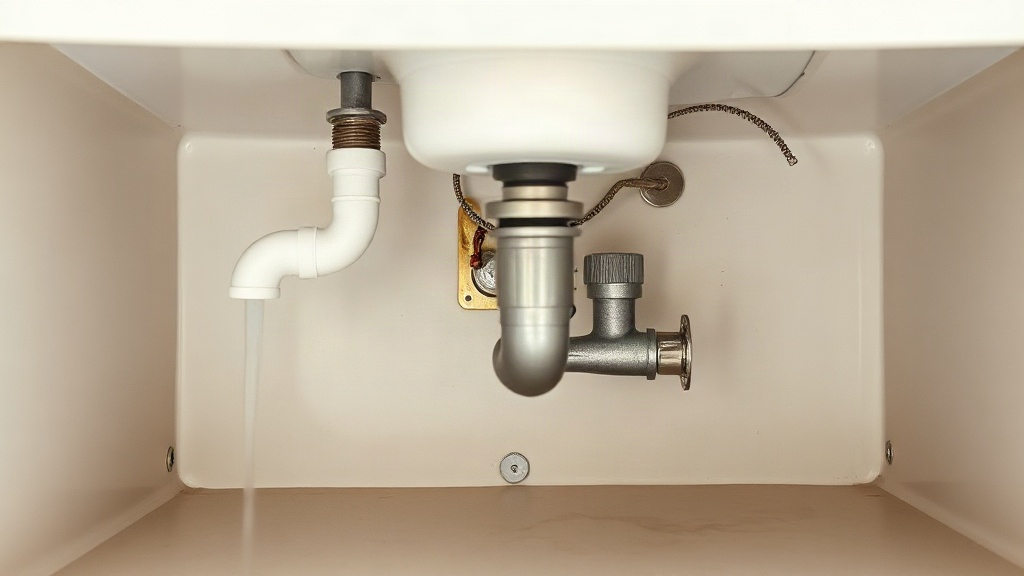
A puddle around the base of your cabinet rarely appears without warning; a leak under sink usually starts as a slow drip that quietly warps the cabinet floor before anyone notices. If you have just spotted water, you are probably asking two things: where is it coming from, and what should I do in the next ten minutes? This guide walks through the likely sources, the risks of ignoring them, and a practical routine for catching problems early. For a broader look at home maintenance resources, see //blogbbw.net/.
Quick answer: Shut off the water supply valves under the sink, dry the area, and trace the drip to its source before tightening or replacing anything. Check the supply lines, P-trap, drain fittings, and dishwasher connection first, because those account for most leaks. Fix the cause rather than the puddle, and dry the cabinet thoroughly to prevent rot and mold.
What is leak under sink?
A leak under sink is any water escaping from the plumbing inside the cabinet beneath a sink basin. That includes the supply lines carrying hot and cold water, the shutoff valves, the drain assembly, the P-trap, and any connection to a dishwasher or water filter. The water can come from a pressurized supply line or from a drain that only leaks when water flows. Knowing which type you have changes the diagnosis.
Pressurized leaks show up constantly. A failing supply line or valve drips all day, even when nobody uses the sink. You will often see a steady bead of water or a mineral crust around a fitting.
Drain leaks appear only in use. The P-trap, tailpiece, and slip nuts carry wastewater under low pressure. They tend to drip while the tap runs or right after, then stop.
The most common culprits, roughly in order of frequency:
- Loose slip nuts on the P-trap or tailpiece
- Worn or cracked supply lines, especially braided hoses
- Failed shutoff valves that weep at the packing nut
- A degraded drain basket gasket at the sink opening
- A loose dishwasher drain hose connection
Some leaks are not plumbing at all. A failed seal around the sink rim or a corroded faucet body can send water down the outside of the drain and into the cabinet. So can a loose sprayer hose. Those cases look like a leak under sink but need a different fix.
A constant drip points to the pressurized supply side. An intermittent drip that appears only after use points to the drain side. Test by drying everything, then running water for a minute and watching.
A useful first step is a visual inspection with a flashlight. Look for water trails, white mineral deposits, or dark staining on the cabinet floor. Those traces often reveal the path water takes, which is frequently not the point where it exits.
Takeaway: Identify whether the leak is constant or only during use, and check both supply and drain connections before assuming the worst.
Why leak under sink matters
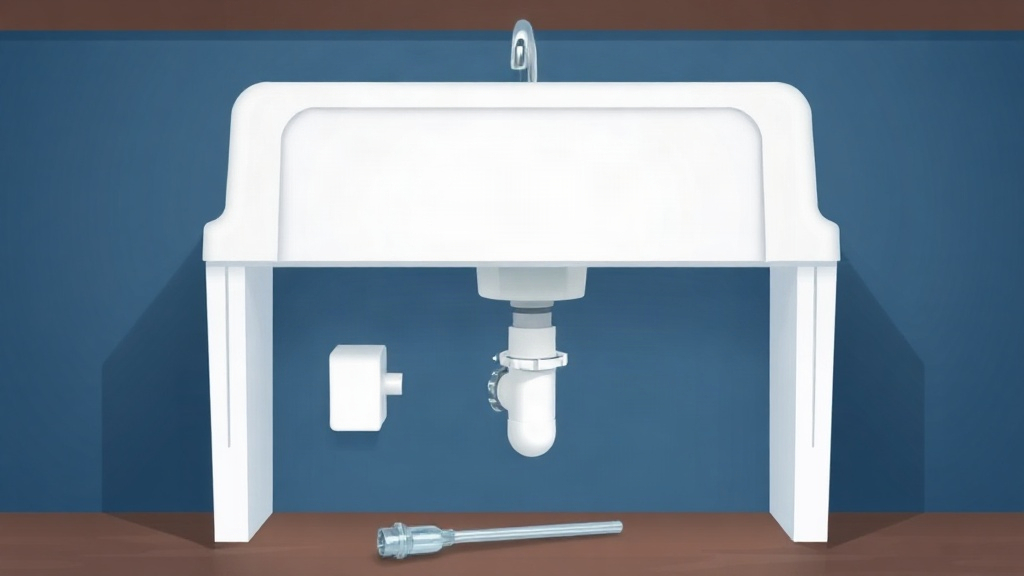
Ignoring a small drip is one of the most expensive habits in home maintenance. Cabinet bases are usually made of particleboard or thin plywood, and both swell and crumble once they stay damp. A repair that would have cost a few dollars in parts can turn into cabinet replacement or subfloor work.
Water also creates conditions for mold and mildew inside a closed cabinet. Dark, humid, poorly ventilated spaces are ideal for growth, and mold can spread to stored cleaning products, paper goods, and nearby wood. The longer the moisture stays, the harder it is to remove.
There are practical costs too:
- Water damage spreads. Water travels along the cabinet floor and can reach adjacent cabinets, flooring, and the wall cavity.
- Stored items get ruined. Bottles, boxes, and appliances sitting in the cabinet absorb moisture or sit in standing water.
- Pests follow moisture. Damp wood attracts insects and can soften structural material over time.
A slow leak can also waste a surprising amount of water. A drip that fills a cup overnight adds up over weeks, and that cost shows up on your water bill without an obvious cause.
If water is spraying or flowing steadily, shut off the nearest supply valve or the home’s main water valve immediately. A burst braided line can release a large volume of water in minutes.
Safety matters as well. Water near electrical outlets, a garbage disposal, or a dishwasher connection creates a shock risk. Do not reach into standing water under a cabinet if any wiring or appliance is nearby. Kill power to that circuit first.
Takeaway: Treat every drip as a signal to act, because cabinet materials, mold risk, and water waste all get worse with time.
Best practices
Good habits prevent most leaks and make the ones that happen easier to fix. Build these into a simple routine.
Inspect on a schedule
Check under each sink twice a year, and again after any plumbing work. Dry everything with a paper towel, run the tap for a minute, then look for fresh moisture. A flashlight and a dry tissue make small drips easy to spot.
Know your shutoff valves
Locate the two supply valves under the sink before you need them. Test them gently once a year by turning them closed and open. If a valve is stiff, dripping, or will not fully close, plan to replace it rather than forcing it.
Replace aging supply lines
Braided stainless lines and flexible hoses have a service life, and they fail more often than rigid pipe. Replace them when they show bulging, fraying, rust, or stiff spots. Upgrading to a quality braided line is inexpensive insurance.
Fix fittings properly
When tightening a slip nut, hand-tighten first, then a small extra turn with pliers. Over-tightening cracks plastic nuts and distorts washers. Replace worn washers and gaskets rather than stacking sealant on top of a failing part.
Keep the cabinet dry and clear
Leave a little airflow and avoid packing the cabinet so tightly that you cannot see the pipes. Store items in a plastic bin rather than directly on the cabinet floor, so a future leak damages less. For more household maintenance guidance, //report-e.com/ is a useful reference.
Dry and monitor after a repair
After any fix, dry the area completely and place a paper towel under the joint. Check it after a day of normal use. If the towel stays dry, the repair held.
A folded paper towel under a suspect joint shows a leak faster than your eyes will. Check it after running the tap and again the next morning.
Takeaway: A twice-yearly inspection, known shutoff valves, and fresh supply lines prevent most leaks before they start.
Common mistakes to avoid
Many small leaks become big problems because of how they are handled. Watch for these.
Tightening everything blindly
Cranking down on every nut can crack plastic fittings, strip threads, or distort seals. Diagnose the source first, then tighten only the loose connection, and only a little.
Ignoring the real source
Water travels. A drip that appears at the cabinet floor may start at the faucet base, run down the drain pipe, and drip far from its origin. Dry everything, then watch where moisture first reappears.
Using the wrong sealant
Plumber’s putty, thread tape, and silicone each suit specific joints. Putting thread tape on a compression fitting or sealant on a slip nut can make a leak worse. Follow the fitting’s design.
Skipping the cabinet dry-out
Fixing the pipe but leaving the cabinet damp invites mold and rot. Remove wet items, blot standing water, and let the space air dry with the doors open. Replace swollen or soft cabinet flooring rather than covering it.
Skipping the water test
After a repair, run hot and cold water, fill the basin, and drain it while watching the joints. A repair that seems fine at a glance can leak under pressure.
Delaying a professional call
Some leaks, such as a cracked drain body or a damaged valve seat, need a plumber. Waiting on a problem you cannot safely fix only increases damage. If water keeps returning after two attempts, call someone qualified.
Takeaway: Diagnose before you tighten, dry the cabinet fully, and test every repair with running water.
FAQ
How much does it cost to fix a leak under sink?
Many leaks are cheap to fix yourself, often just the cost of a washer, supply line, or P-trap kit. A plumber’s visit for a simple repair typically adds a service call fee on top of parts. Complex issues like a cracked drain body or valve replacement cost more.
Can I just put a bucket under the leak for now?
A bucket buys time but does not fix the cause. Water still humidifies the cabinet, and a bucket can overflow unnoticed. Treat it as a short-term stopgap only, and keep the supply valve closed when the sink is not in use.
Why does my leak only happen when I run the water?
That pattern points to the drain side. The P-trap, tailpiece, or drain gasket only carries water during use. Dry the fittings, run the tap, and watch for the first drip after the water starts flowing.
Should I replace the shutoff valves while I am in there?
If the valves are old, stiff, or already weeping, replacing them is worthwhile. A failed valve makes future repairs harder and can leak on its own. A plumber can swap them quickly during a repair visit.
How do I know if the cabinet is already damaged?
Press on the cabinet floor. Soft, swollen, or crumbly material means water has soaked in. Look for dark staining, a musty smell, or peeling finish. Replace damaged sections so the problem does not return.
Conclusion
A leak under sink is rarely just a puddle; it is an early warning about supply lines, drain fittings, or valves that need attention. Catching it quickly protects your cabinets, your stored items, and your home from rot, mold, and rising water bills. The pattern matters: constant drips point to the supply side, while use-only drips point to the drain. Dry the area, find the true source, fix it properly, and test with running water before you call it done.
Your next step is simple. Grab a flashlight and a paper towel, shut off the valves, and inspect under every sink in your home this week. If a leak returns after one careful repair, call a qualified plumber rather than living with the drip.