Setting Up a Home Workshop on a Budget
A practical, budget-friendly guide to setting up a home workshop: define zones, buy tools in stages, and prioritize lighting, safe power, and dust control.
Setting up a home workshop on a budget starts with an honest look at the space you have and the projects you actually plan to build. Most beginners assume they need a garage full of machines before the first cut, yet a surprising amount of good work comes from a sturdy bench, a few hand tools, and decent lighting. If you have browsed tool catalogs and wondered where to begin, resources such as //bestusatools.com/ can help you compare equipment without overspending. This guide walks through a practical, staged approach so your workspace grows with your skills instead of draining your savings.
Quick answer: Start with a dedicated work surface, safe lighting, and a small core of hand tools, then add power tools only as specific projects demand them. Buy used where quality holds up, prioritize dust and electrical safety, and let the shop evolve in stages rather than buying everything at once.
What is setting up a home workshop?
A home workshop is a defined space where you store tools, cut and assemble materials, and finish projects with less setup friction each time. It can be a corner of a garage, a spare room, a shed, or even a section of a basement. The goal is repeatability: you walk in, find what you need, and start working within minutes.
Setting up a home workshop on a budget is less about buying gear and more about organizing a workflow. That means thinking through three things: where each task happens, how materials move between stations, and where waste goes. A small shop that keeps cutting, assembly, and finishing in logical zones feels larger than it is.
The three zones every small shop needs
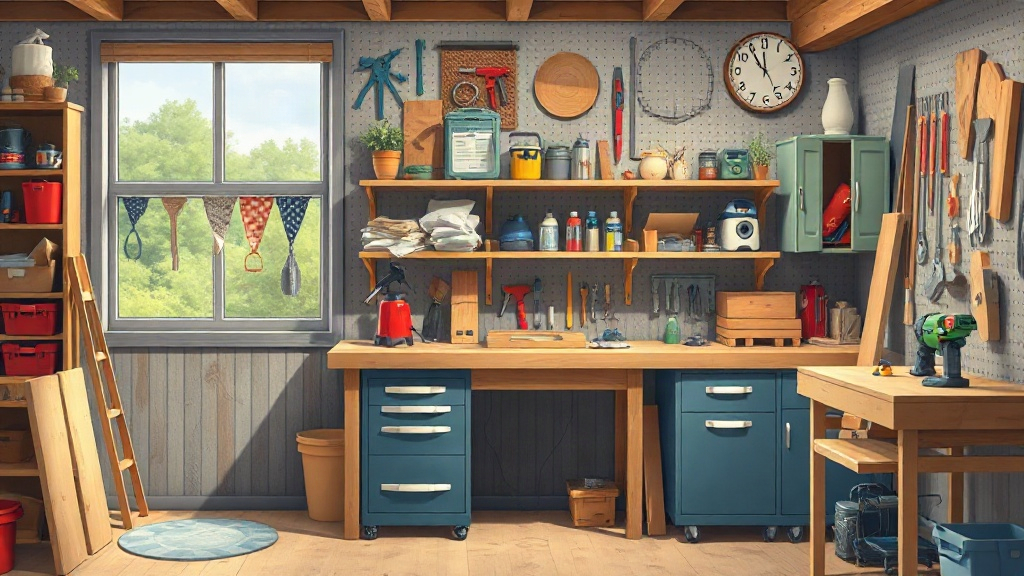
- A work surface for measuring, marking, and assembly. A solid bench at roughly waist height is the anchor.
- A cutting or machining area where dust and chips are contained, ideally near a door or window.
- A storage wall for tools and materials, kept close to where you use them.
Even a single-car garage can hold all three if you stack vertically and keep the floor clear. Hooks, pegboards, and shelving cost little and free up bench space fast.
What “on a budget” really means
A budget shop is not a cheap shop. It is a shop where every purchase earns its place. A $40 hand plane that gets used weekly beats a $300 power tool that sits in a box. The working definition: spend where accuracy and safety depend on it, save where convenience is the only benefit.
Most successful low-cost shops are built over months, not a single weekend. Buying in stages lets you learn what you actually reach for.
Takeaway: define your zones and your spending priorities before buying a single item.
Why setting up a home workshop matters
A workable shop changes how you approach repairs and projects. Instead of postponing a fix because you lack a tool or a flat surface, you handle it. That shift saves trips to a hardware store for small jobs and builds confidence to attempt larger ones.
There is a practical safety angle too. Scattered tools, poor lighting, and clutter cause more injuries than sharp blades do. An organized space with clear walkways and proper storage reduces the chance of accidents. Good habits set up early tend to stay.
Cost and time benefits over the long run
- Fewer repeat purchases: knowing what you own stops duplicate buys.
- Less waste: offcuts and leftovers get stored and reused.
- Faster projects: a permanent bench and accessible tools cut setup time on every job.
- Repair instead of replace: basic skills plus a bench keep furniture and fixtures in service longer.
For anyone weighing a first power tool, it helps to understand the category before spending.
When a home workshop may not suit you
A workshop needs space, ventilation, and some tolerance for noise and dust. Renters with strict leases, shared walls, or no storage may find a shared maker space more practical. Be honest about your constraints; a cramped, poorly ventilated setup creates frustration and hazards.
Takeaway: a home workshop pays back in time, safety, and self-reliance, but only if the space genuinely fits your situation.
Best practices
Plan the layout on paper before moving anything heavy. Sketch the room, mark doors and windows, and place the bench where you have the most light and the least foot traffic. Leave at least a meter of clear space around any machine that produces chips.
Buy used where quality holds
Hand tools, cast-iron machines, and solid benches often sell used in good condition. Inspect before buying, check for rust and missing parts, and confirm parts are still available. Corded power tools from established brands are frequently better value used than budget models are new.
When a project calls for an angle grinder or similar tool, learning how to choose a grinder before you buy prevents a costly mismatch between the tool and the work.
Prioritize lighting, power, and dust control
These three items are easy to underfund and expensive to fix later.
- Lighting: combine overhead light with a task lamp at the bench. Shadows cause measuring errors.
- Power: use outlets with ground fault protection in garages and damp areas. Avoid daisy-chaining extension cords.
- Dust: a shop vacuum connected to your tools captures most debris. A simple fan in a window helps with airflow.
Build storage you can change
Fixed cabinets lock you into a layout. Adjustable shelving, pegboard, and rolling carts adapt as your tool collection changes. Keep the most-used items within arm’s reach of the bench and store seasonal or rare tools higher up.
Never run heavy machinery on overloaded circuits. If you are unsure about your wiring, have a qualified electrician check it before adding high-draw tools.
Takeaway: spend first on light, safe power, dust control, and flexible storage; the tools can follow.
Common mistakes to avoid
The most frequent error is buying a full tool set before the first project. Bundles often include items you will never use while skimping on the ones you need. Start with a project, list the tools it requires, and buy only those.
Another trap is ignoring the floor and the bench. A wobbly bench makes accurate work nearly impossible, and a cluttered floor is a trip hazard. Invest in a stable surface and clear walking space before anything else.
Overlooking ventilation and noise
Dust and fumes build up quickly in small rooms. Working without airflow or a mask exposes your lungs to fine particles. Plan for ventilation from day one, and use hearing protection with any loud tool.
Skipping a first-aid and safety kit
Keep a stocked first-aid kit, a fire extinguisher rated for your risks, and safety glasses within reach. These cost little and matter enormously. Store sharp tools with edge guards and keep blades away from walkways.
A bargain tool that fails mid-project can damage materials and cause injury. Where accuracy or safety depends on the tool, buy the best you can reasonably afford.
Takeaway: avoid premature bulk buying, unstable benches, and ignored safety basics; each one undermines the whole shop.
FAQ
How much does it cost to set up a basic home workshop?
A minimal setup with a sturdy bench, hand tools, lighting, and a shop vacuum can be assembled for a modest sum, especially if you buy used and build the bench yourself. Costs rise with power tools and dedicated dust collection. Set a staged budget and add equipment as projects require it.
Do I need a dedicated room, or can I use a corner?
A corner of a garage or spare room works if you can control dust, noise, and storage. The key is a stable bench and clear walkways. Fold-down benches and rolling carts help small spaces convert quickly between uses.
What tools should I buy first?
Begin with measuring and marking tools, a solid hammer, screwdrivers, a saw, clamps, and safety gear. Add power tools when a specific project demands them. This order keeps spending tied to real needs.
How do I control dust in a small workshop?
Connect a shop vacuum to your tools, seal gaps where possible, and ventilate with a fan or open window. Wear a mask for fine dust. Clean up after each session rather than letting debris accumulate.
Is it worth buying used power tools?
Often yes, particularly corded tools from established brands. Inspect cords, switches, and blades, and confirm parts are available. Cordless tools are trickier used because batteries may be near the end of their life.
Conclusion
A good home workshop grows in stages: define your zones, buy only what your projects require, and fund lighting, safe power, and dust control before extras. Keep the bench stable, the floor clear, and safety gear within reach. Start this week by sketching your space and listing the tools for one real project, then acquire only those items. Your shop will improve with each job you finish, and your spending will stay under control.