
How to Fix Lumpy Pillows After Washing: Easy Rescue Methods
Key Takeaways
- Lumpy pillows usually come from poor drying or too much detergent.
- Hand fluffing breaks up small clumps in just a few minutes.
- Re-dry pillows on low heat with dryer balls for the best results.
- Sunlight and fresh air can restore down and fiberfill pillows naturally.
- Pillows with mold or permanent clumps should be replaced, not saved.
Last winter, I washed my two favorite down pillows for the first time, feeling proud of myself for keeping up with household chores. However, when I pulled them from the dryer, my heart sank—both were hard, bumpy, and full of strange clumps, looking like lumpy sacks instead of soft clouds. It turns out I had made the classic laundering mistake that bedding specialists at https://pillowshowcase.com/ frequently warn against.
I almost threw them away. Instead, I spent a weekend researching how to fix lumpy pillows. I tried several methods, made a few mistakes, and finally found what works. To my surprise, both pillows returned to their original fluffy shape.
Since then, I have rescued pillows for myself, family, and friends. The good news is that most lumpy pillows can be saved. You just need the right technique and a little patience. In this guide, I will walk you through every step, so your pillows never end up in the trash.
Why Pillows Get Lumpy After Washing
Before fixing the problem, it helps to understand the cause. Lumps rarely happen randomly. Usually, one of a few common mistakes is to blame.
The biggest cause is incomplete drying. When a pillow leaves the dryer damp, its filling sticks together. Wet down clusters, foam bits, and fiberfill all clump as they dry slowly in the pile. Therefore, the outside may feel dry while the inside stays wet and matted.
Too much detergent is another common culprit. Extra soap does not rinse out fully. The leftover residue makes filling fibers stick to each other. As a result, the filling forms stiff clumps instead of staying loose.
Here are the main reasons pillows turn lumpy:
- Damp filling: The pillow did not dry all the way through.
- Excess detergent: Soap residue glues fibers together.
- Hot water or high heat: Extreme temperatures damage down and synthetic fills.
- Overloading the machine: Pillows need room to move freely.
- Washing one pillow alone: An unbalanced load presses filling to one side.
- Agitator damage: Harsh center agitators tear filling apart unevenly.
Additionally, some filling types clump more easily than others. Down and feather pillows clump when wet but fluff back well. Fiberfill clumps and sometimes stays matted. Memory foam, however, should never be washed at all.
Knowing the cause helps you pick the right fix. For example, damp filling needs more drying. Meanwhile, soap residue needs rinsing before drying again. Let’s start with the simplest fix first.
Quick Fix: Fluff Lumpy Pillows by Hand
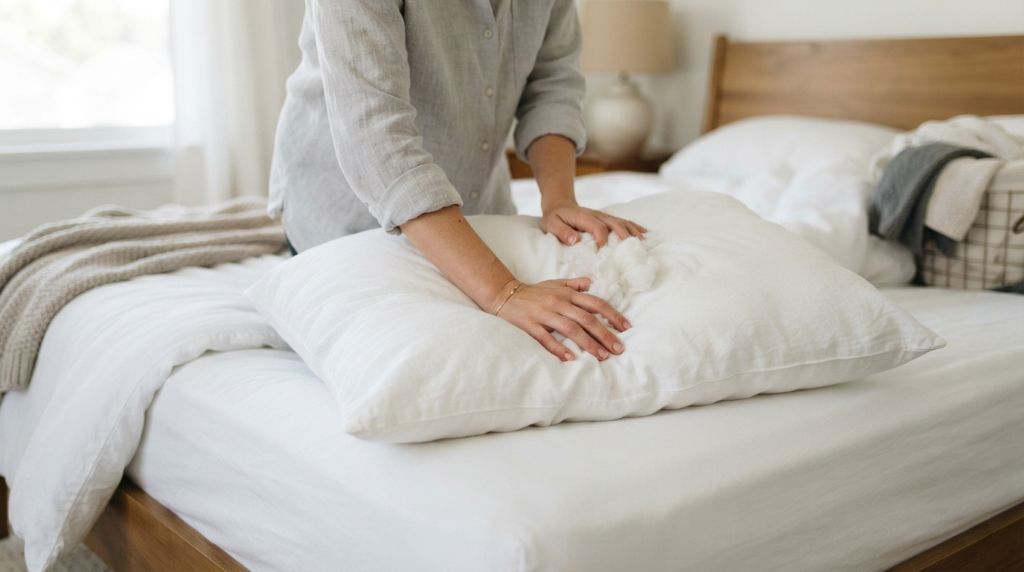
Hand fluffing is the fastest rescue method. It works best on small clumps and pillows that are already dry. I start every rescue with this step.
First, lay the pillow flat on a clean, dry surface. Then, press your hands into the pillow and feel for clumps. You will notice hard spots and uneven areas under the fabric.
Next, use your fingers to break the clumps apart. Knead the pillow gently, like kneading bread dough. Pinch large clumps between your fingers and pull them apart. Work from the edges toward the center. This motion separates matted filling without tearing the cover.
After kneading, pick up the pillow and pat it firmly on all sides. Then, shake it vigorously for 30 seconds. This motion loosens filling and pushes air back inside. Additionally, squeezing the pillow repeatedly helps redistribute the stuffing evenly.
Here is a simple routine to follow:
- Lay the pillow flat and locate all the clumps.
- Knead each clump with your fingers until it breaks apart.
- Pat and punch the pillow gently on every side.
- Shake it hard for half a minute.
- Squeeze the whole pillow to spread the filling evenly.
Repeat this process daily for two or three days. Filling often settles more between sessions. Therefore, patience pays off. My down pillows improved noticeably after each fluffing session. However, stubborn clumps needed the next method.
Re-Dry Your Pillows With Dryer Balls
When hand fluffing is not enough, the dryer becomes your best tool. Most lumpy pillows still hold hidden moisture. A second drying cycle breaks up clumps and removes dampness at the same time.
Start by checking the care label. Confirm the pillow is safe for tumble drying. Then, set the dryer to low heat or the air-fluff setting. High heat damages fills and shrinks covers. Therefore, low and slow always wins.
Next, add dryer balls to the drum. Wool dryer balls work great. However, clean tennis balls work just as well. The balls bounce against the pillows during the cycle. This constant motion breaks clumps apart and keeps filling loose. I used three tennis balls in a clean sock for my first rescue. It worked perfectly.
Here is the step-by-step process:
- Knot two tennis balls inside a clean sock, or use wool dryer balls.
- Place the pillows and balls together in the dryer.
- Set the machine to low heat or air fluff.
- Run the dryer in 30-minute cycles.
- Remove pillows, fluff by hand, and feel for damp spots.
- Repeat until the pillows are completely dry inside.
Down pillows may need several hours of drying time. Be patient here. A pillow can trick you by feeling dry outside while staying wet inside. Therefore, squeeze the center firmly before stopping. If you feel cool spots or moisture, keep drying.
The American Cleaning Institute recommends checking care labels and matching dryer settings to fabric needs. Following this advice protects your pillows from heat damage during rescue attempts.
Try the Sunlight and Fresh Air Method
No dryer at home? No problem. Sunlight and fresh air offer a gentle, free alternative. This method works especially well for down, feather, and fiberfill pillows.
Start on a warm, dry day. Choose a spot with direct sunlight and good airflow. Then, lay a clean sheet or towel on a flat outdoor surface. A patio table, deck, or clean patch of grass all work well.
Place the pillows flat on the surface. Before laying them down, knead and fluff each pillow by hand. Breaking clumps apart first helps the filling dry evenly. Next, press the pillows flat so air reaches every side.
Here are a few tips for success:
- Turn the pillows every hour so both sides dry fully.
- Beat the pillows lightly, like beating a rug, to loosen filling.
- Bring pillows inside before evening moisture returns.
- Avoid humid days, because damp air slows drying.
- Keep colors out of harsh sun if fading worries you.
Sunlight does more than dry. It also freshens fabric naturally and kills some odor-causing bacteria. Additionally, fresh air removes that stale smell damp pillows sometimes develop.
I used this method for my daughter’s fiberfill pillow last summer. Two sunny afternoons outside restored it completely. Therefore, do not underestimate this simple, old-school approach. It costs nothing and treats pillows gently.
When a Lumpy Pillow Cannot Be Saved
Sadly, not every pillow survives a bad wash. Some damage goes beyond fluffing and re-drying. Knowing when to quit saves you time and keeps your bedroom healthy.
Watch for these warning signs:
- Musty or sour smell: This often means mold is growing inside.
- Stains that return: Damp filling pushes stains back to the surface.
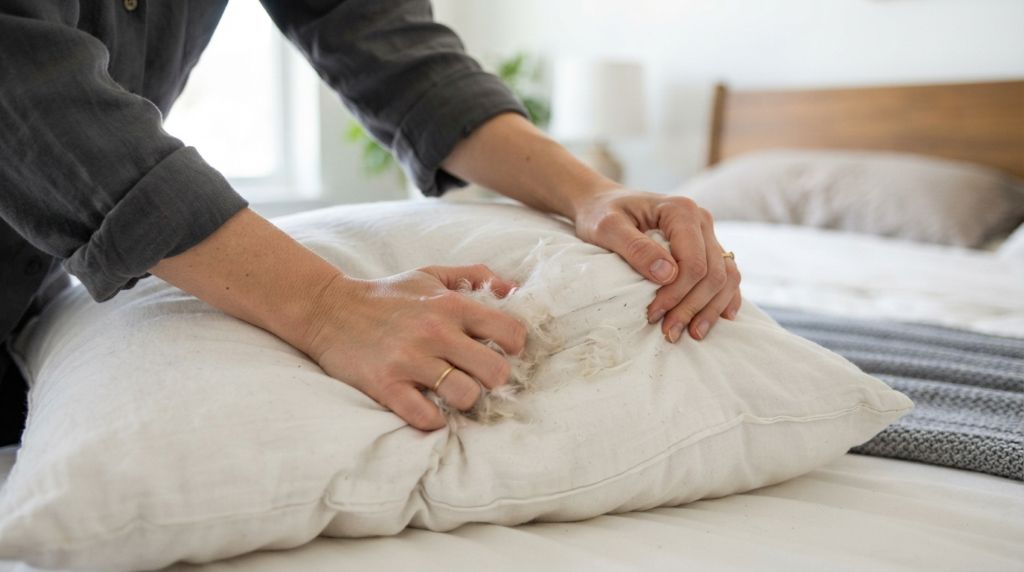
- Hard, permanent clumps: Filling that stays stiff after several rescue attempts.
- Lumpy and flat together: The pillow no longer holds any shape or support.
- Filling leaking through seams: Damaged covers cannot hold filling properly.
Mold deserves special attention. The Asthma and Allergy Foundation of America warns that mold and dust mites in bedding can trigger allergies and asthma symptoms. Therefore, never keep a pillow you suspect has mold. Your health matters more than saving a few dollars.
Also, consider pillow age. Experts suggest replacing most pillows every one to two years. An old pillow with heavy lumps has simply reached the end of its life. Folding a pillow in half is a quick test. If it stays folded instead of springing back, replacement time has arrived.
I finally let go of one old fiberfill pillow after three rescue attempts. Nothing worked, and it smelled faintly musty. Buying a fresh pillow felt far better than sleeping on a lost cause.
How to Prevent Lumpy Pillows Next Time
Fixing lumps takes effort. Preventing them takes almost none. Follow these simple habits, and you may never face a lumpy pillow again.
Wash two pillows at a time. This balances the washer drum and stops filling from pressing to one side. Additionally, pillows need room to move freely during the cycle.
Use less detergent than you think. Half the normal amount works fine for pillows. Then, run an extra rinse cycle. This step flushes all soap residue out of the filling. Remember, leftover soap creates sticky clumps.
Choose gentle settings every time. Use cold or warm water, never hot. Pick the delicate cycle to protect filling fibers. Similarly, always dry on low heat.
Never skip the dryer balls. They cost a few dollars and prevent clumps automatically. Furthermore, add a second drying cycle for thick or down pillows. Fully dry filling stays fluffy.
Here is your quick prevention checklist:
- Wash two pillows together on a gentle cycle.
- Use mild detergent in small amounts.
- Add an extra rinse cycle.
- Tumble dry on low heat with dryer balls.
- Check for hidden dampness before storing.
- Fluff pillows daily to keep filling loose.
My washing routine now follows these steps exactly. In two years, I have not seen a single lumpy pillow. Prevention truly beats rescue work every single time.
Conclusion
Lumpy pillows after washing feel frustrating, but they are usually fixable. Start with simple hand fluffing to break up small clumps. Then, re-dry pillows on low heat with dryer balls for stubborn lumps. No dryer? Sunlight and fresh air work wonders too. If you use a cervical pillow for back sleeping, learning how to use a cervical pillow for back sleepers properly can also help you maintain proper support and comfort. Just remember that moldy or hopelessly matted pillows deserve retirement, not rescue.
My weekend of research saved two favorite pillows and taught me lasting habits. Now my pillows stay fluffy year-round because I wash them the right way. You can do the same with these simple steps.
Have you ever rescued a lumpy pillow? Or did you learn a trick that saved your bedding? Share your experience in the comments below. Additionally, if this guide helped you, share it with a friend whose pillows need saving. Fluffy, fresh pillows are closer than you think!
Frequently Asked Questions
Can you fix a lumpy pillow without a dryer?
Yes. Fluff it by hand, then lay it in direct sunlight for several hours. Turn and beat the pillow hourly until fully dry.
Why did my pillow get lumpy after washing?
Common causes include damp filling, too much detergent, hot water, or drying without dryer balls. Extra rinse cycles and low heat prevent the problem.
How long does it take to fix a lumpy pillow?
Hand fluffing takes minutes, but re-drying takes one to three hours. Down pillows may need several hours to dry completely.
Can memory foam pillows get lumpy?
Memory foam should never be machine washed. If it lumps, the foam is damaged and usually needs replacing. Spot clean only.
When should I replace a lumpy pillow?
Replace it if clumps stay hard after several attempts, if it smells musty, or if it stays folded when bent in half.