7 Zero-Waste Craft Projects to Try with Leftover Materials
Seven practical zero-waste craft projects that turn fabric scraps, jars, cardboard, and paper waste into useful items, plus tips on choosing the right one to start with.
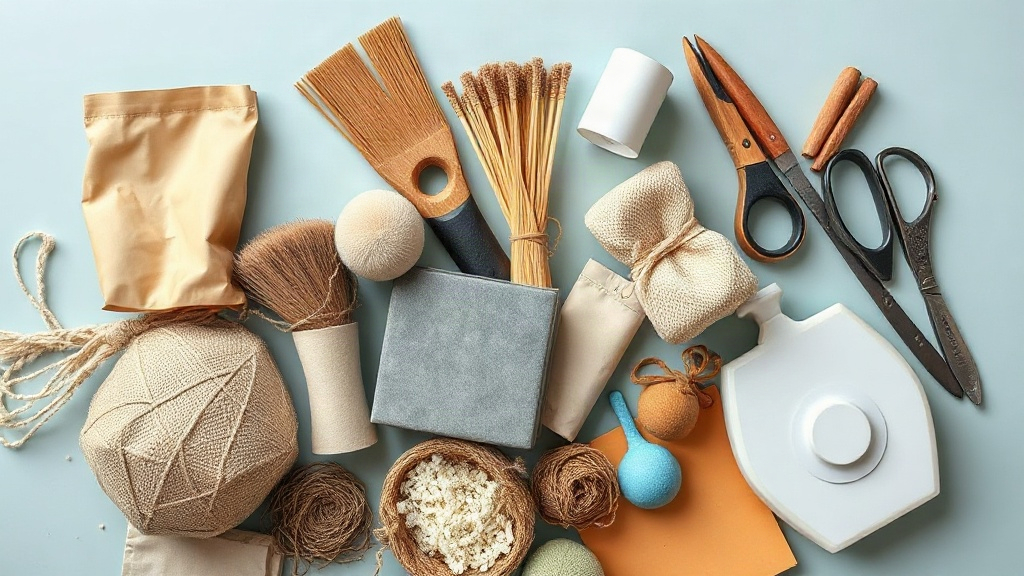
Cardboard boxes, fabric scraps, and glass jars fill the bin faster than most households expect. Most people who plan zero-waste craft projects to try discover the same thing: the materials are already sitting in the recycling pile. The trick lies in picking projects that match what you actually have on hand. This guide covers seven realistic options, plus a simple way to choose between them. Resources like Green Ideas Products show how far everyday discards can stretch.
Quick answer: Start with the material you throw away most often. Fabric scraps suit coasters and tote bags, glass jars become storage or lanterns, and cardboard works for seed starters and organisers. Pick one project per material stream, gather basic tools like scissors and glue, and finish a small first batch before scaling up.
Our picks at a glance
Each project below earns its place for three reasons: it uses common household leftovers, it needs few tools, and the finished item is genuinely useful. The list runs from easiest to most involved, so beginners can start at the top.
Comparison: the seven projects at a glance
| Project | Main material | Difficulty | Tools needed | Typical use |
|---|---|---|---|---|
| Fabric scrap coasters | Fabric offcuts | Easy | Scissors, needle, thread | Kitchen and desk |
| Glass jar lanterns | Glass jars | Easy | Twine, glue, tea light | Décor and gifts |
| Cardboard seed starters | Cardboard tubes | Easy | Scissors, soil | Gardening |
| Tin can planters | Tin cans | Moderate | Drill or nail, hammer, paint | Balcony plants |
| Scrap paper cards | Paper waste | Moderate | Blender, screen, tub | Cards and tags |
| Old T-shirt tote bag | Worn textiles | Moderate | Scissors, sewing kit | Shopping and storage |
| Wine cork bulletin board | Corks | Moderate | Glue, backing board | Home office |
Notice the pattern: the easiest projects need no special equipment, while the more involved ones ask for a blender, a drill, or basic sewing skills. That spread lets a household add one new skill at a time.
Cost is the other quiet advantage worth weighing. Coasters, seed starters, and jar lanterns usually cost nothing beyond supplies already in a drawer. Paper making is the exception, since a retired blender is often the one item people buy; a secondhand one from a charity shop keeps the spend low. Tin cans add paint, and cork boards add glue by the bottle, so budget for those consumables rather than the materials themselves.
Beginners often ask how much storage the finished items need. Coasters and cards stack flat, lanterns line up on a shelf, and seed starters vanish into the garden within weeks. Tote bags and cork boards take up wall or closet space, so decide where they will live before you start cutting. If you lack room, make the smaller projects first and save the larger builds for a season when you can hang or give them away.
Which projects suit total beginners
The first three entries are the safest starting points. Coasters, jar lanterns, and cardboard seed starters leave little room for failure and take under an hour. They also produce items people actually keep.
Which projects reward a little practice
Tin can planters and handmade paper need patience with edges and drying times. Tote bags and cork boards ask for steady stitching or careful gluing. Expect the first attempt to look handmade rather than store-bought, and treat that as part of the charm.
The list: zero-waste craft projects to try with what you already own
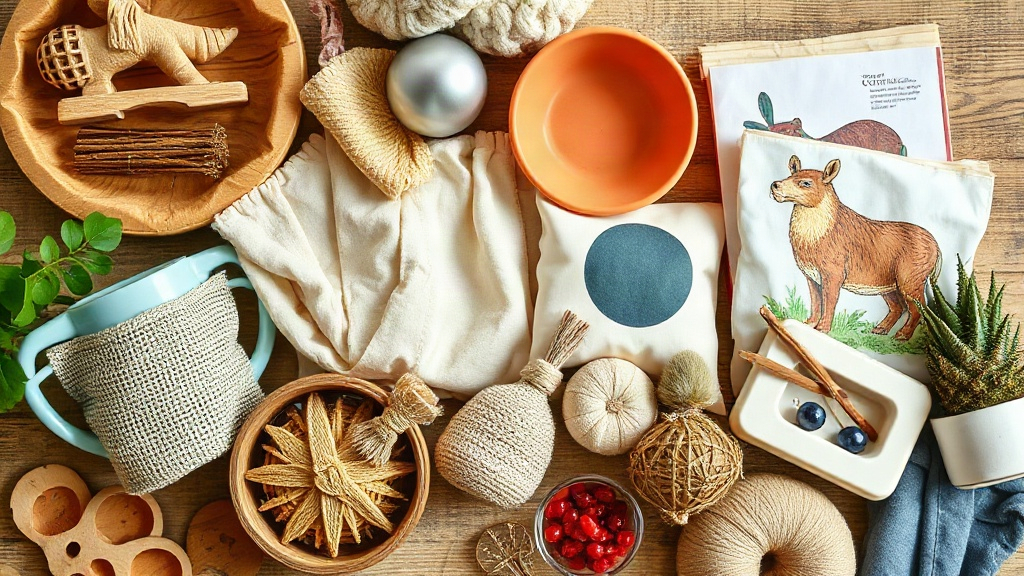
Work through the list in order if you are new to making things. Each project builds a skill the next one leans on: cutting and stitching neatly, punching holes safely, blending pulp to an even consistency, and gluing without gaps. None of these steps take long to learn, and completing them in sequence means the trickier builds feel familiar rather than frustrating when you reach them.
1. Fabric scrap coasters
Fabric offcuts from hemming, worn clothing, or old curtains make sturdy coasters. Cut two squares of roughly 10 cm per side, place them right sides together, and stitch around the edge. Leave a small gap, turn the piece inside out, and close the gap by hand. Quilted versions add a layer of wadding for heat protection. This project suits anyone with a needle and thread and produces a stack of gifts from a single afternoon’s work.
2. Glass jar lanterns
Clean glass jars become warm table lanterns with twine, a little glue, and a tea light. Wrap twine around the jar and secure it with a dot of craft glue. Add a handle loop if you plan to hang it outdoors. Use battery-operated tea lights near children or fabrics, since glass heats up quickly around a real flame.
3. Cardboard tube seed starters
Toilet roll tubes make free seedling pots that break down in the soil. Cut each tube in half, fold one end to close it, and fill it with potting mix. Plant a seed in each, water lightly, and set them on a tray. When seedlings are ready, plant the whole tube in the ground. The cardboard decomposes while the roots keep growing undisturbed.
4. Tin can planters
Washed tin cans work well for herbs on a windowsill. Remove the label, sand any sharp rims, and punch drainage holes in the base with a nail and hammer. A coat of paint prevents rust and hides the original branding. Place a saucer underneath to catch water, and choose herbs like basil or mint that tolerate small containers.
5. Handmade paper cards
Scrap paper, junk mail, and old envelopes can be recycled into new sheets. Tear the paper into small pieces, soak it, and blend it into a pulp. Spread the pulp on a screen, press out the water, and let it dry flat. The result works for greeting cards, gift tags, and bookmarks. Anyone who wants the full process can learn how to make paper from recycled scraps with a household blender and a simple frame.
6. Old T-shirt tote bag
A worn cotton T-shirt turns into a shopping bag with one cut and one line of stitching. Cut off the sleeves and widen the neckline to form handles. Sew across the bottom edge, or knot the hem for a no-sew version. Cotton jersey stretches, so double the fabric or add a lining for heavier loads. This project keeps textiles out of landfill and gives the bag a second life.
7. Wine cork bulletin board
Saved corks make a textured pinboard for notes and photos. Glue them cut-side down onto a sturdy backing board, such as plywood or heavy cardboard. Arrange them in rows or a honeycomb pattern, then fit the board into a frame. Cork grips pins well, so the finished board holds receipts, lists, and reminders without tape or magnets.
How to choose the right option
The best project depends on your waste stream, your tools, and the time you can spare. A household that drinks bottled juice will collect glass faster than fabric. Someone who sews regularly will have offcuts piling up. Match the project to the pile, not the other way round.
Consider the season, too. Late winter suits seed starters so seedlings are ready for spring planting, while dark evenings make jar lanterns an appealing weekend project. Rainy months pair well with paper making, which needs drying space indoors. If you plan to give items as gifts, work backward from the occasion and choose projects that can be finished and dried well ahead of the date.
Start with your most common material
Spend one week watching what fills your bin. If cardboard dominates, seed starters and storage boxes make sense. If paper dominates, handmade paper is the natural fit. This simple audit prevents you from buying materials for a "zero-waste" project, which defeats the point.
Check the tools before you commit
Match the project to the equipment you already own. Coasters and jar lanterns need scissors and thread. Paper making needs a blender you are happy to dedicate to pulp, since paper fibres can dull blades. Tin can planters need a hammer and nail at minimum. Borrowing a tool once beats buying it for a single project.
Weigh time against the finished result
Quick projects finish in under an hour and suit a rainy afternoon. Larger builds like the cork board spread across several evenings because glue needs time to set. Be honest about how much time you have before starting, and pick accordingly.
A single lidded box for fabric, paper, and small hardware makes future projects faster. Sort it once a month and pass on anything you have not used.
Avoid the common traps
A few habits keep these projects genuinely low-waste:
- Buying supplies you already have. Check the scrap box before shopping.
- Skipping the cleaning step. Wash jars and cans thoroughly, or finished items will smell.
- Ignoring finish quality. Sand rough edges so items are safe to use.
- Overcommitting. One finished project beats five half-started ones.
FAQ
How much does a zero-waste craft project usually cost?
Most of these projects cost little because the main material is free. Expect small outlays for glue, thread, tea lights, or paint. The largest expense is often a tool you do not own yet, and borrowing or sharing one keeps costs down.
Are these projects safe for children?
The easiest three suit supervised children well. Jar lanterns need battery tea lights rather than real flames. Tin cans and paper making involve sharp edges or blades, so keep those steps with adults. Always sand metal rims before children handle them.
How long does each project take?
Coasters, seed starters, and jar lanterns take under an hour. Tote bags and tin can planters need an afternoon. Handmade paper and cork boards spread across a day or more because of drying and setting times. Plan around the drying stages.
What if I do not have the exact materials listed?
Substitute freely. Any cotton fabric works for coasters, and any glass jar works for a lantern. Wider cardboard or cereal boxes can replace tubes. The projects work because they adapt to what you have, not because they demand specific products.
Do handmade items actually last?
Yes, with basic care. Wash fabric items gently and dry them flat. Keep cork boards out of damp rooms. Seal painted metal against rust, and store paper goods away from moisture. Properly finished pieces hold up for years of everyday use.
Conclusion
Choosing zero-waste craft projects to try comes down to matching materials, tools, and time. Start with the waste your household produces most, pick a beginner-friendly project, and finish one small piece before expanding. Keep a scrap box, clean materials properly, and skip buying supplies you already own. This week, set aside an hour and make the first item on the list from fabric you were about to throw away.